Transforming your walls and giving your space a fresh new look doesn’t have to be a complicated or expensive endeavor.
In this essay, we will explore the world of WPC (Wood-Plastic Composite) wall panels and how they offer an easy installation process that allows for stunning results.
Whether you’re a seasoned DIY enthusiast or a novice looking to embark on your first project, WPC wall panels provide a user-friendly solution for upgrading your walls and enhancing the aesthetics of your space.
I. Understanding WPC Wall Panels: The Basics
Before diving into the installation process, it’s essential to understand what WPC wall panels are and what sets them apart.
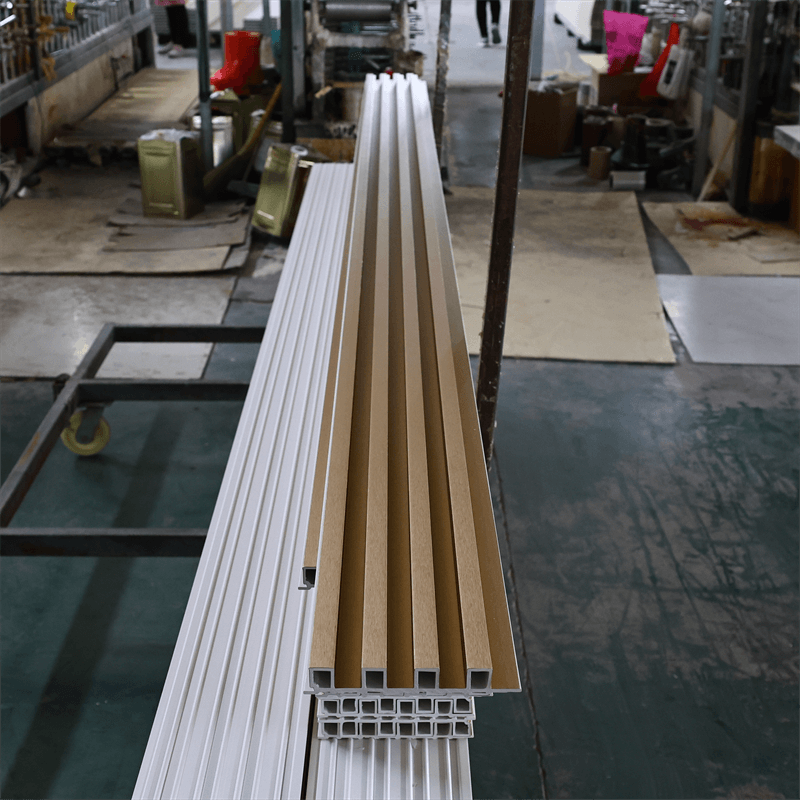
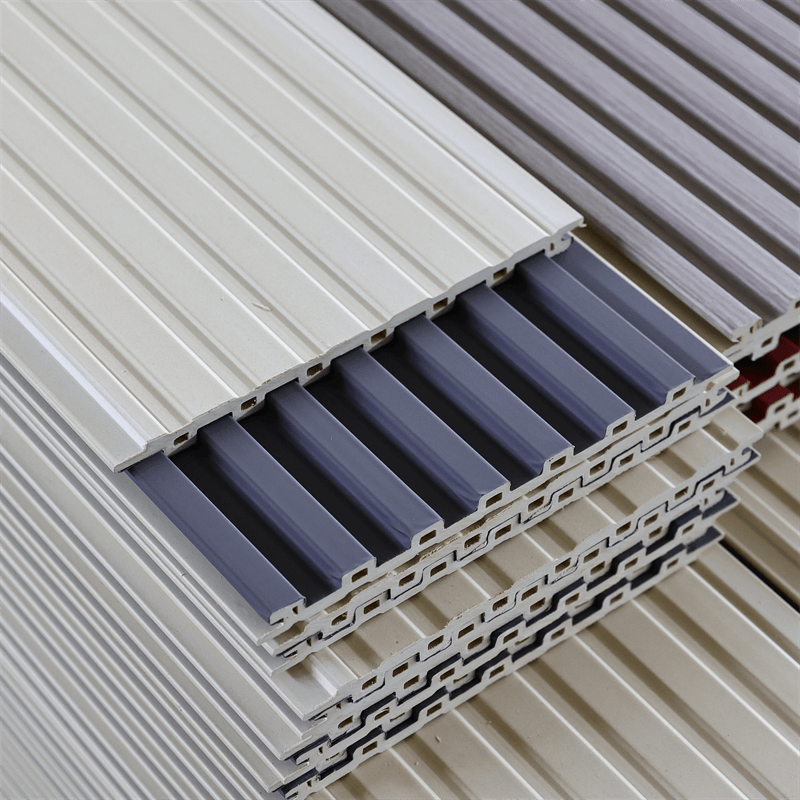
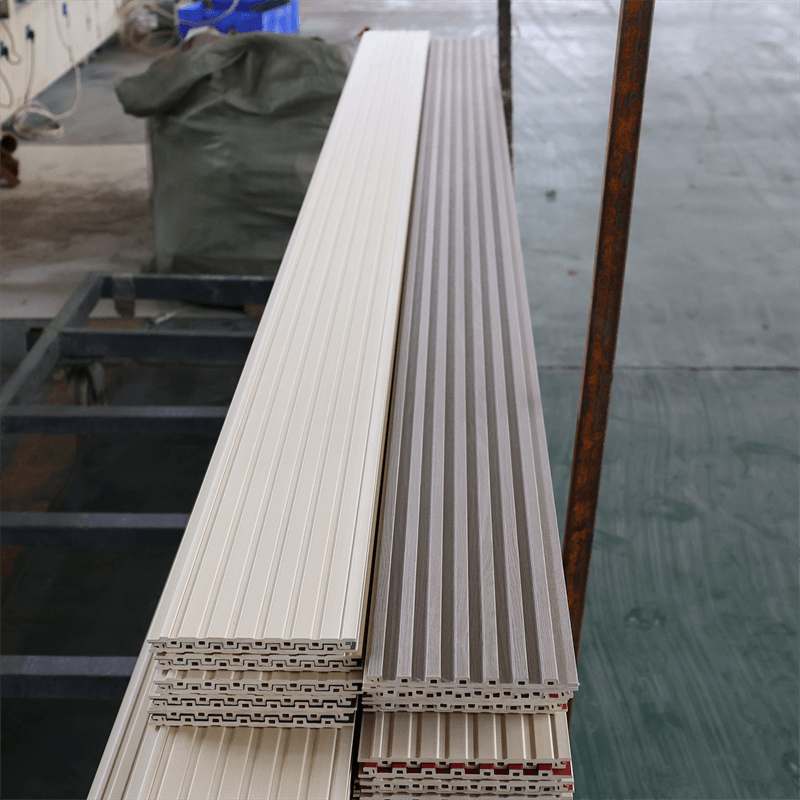
WPC panels are made from a blend of wood fibers and plastic, resulting in a sturdy and durable material that mimics the appearance of natural wood.
These panels come in various sizes, finishes, and designs, offering versatility and customization options to suit your preferences.
The composition of WPC wall panels makes them resistant to issues commonly associated with traditional materials, such as warping, cracking, or rotting.
This durability ensures that your walls maintain their beauty and integrity over time, even in high-moisture areas or regions with extreme weather conditions.
II. Tools and Materials: What You’ll Need
To embark on your WPC wall panel installation project, you’ll need a few essential tools and materials.
These typically include a tape measure, level, pencil, saw, adhesive, and screws. It’s crucial to gather all the necessary items before you begin to ensure a smooth and efficient installation process.
WPC wall panels are often designed with a tongue-and-groove system, allowing for seamless connection and a secure fit.
This eliminates the need for specialized tools or complicated installation techniques, making it a suitable project for DIY enthusiasts of all skill levels.
III. Step-by-Step Installation Guide: A DIY Approach
- Prepare the Walls: Start by ensuring that the walls are clean, smooth, and free from any debris or imperfections. Repair any cracks or uneven surfaces before proceeding with the installation.
- Measure and Cut: Measure the dimensions of the wall and mark the panel accordingly. Use a saw to cut the panel to the desired size. Take precise measurements to ensure a proper fit.
- Apply Adhesive: Apply a suitable adhesive to the back of the panel. Follow the manufacturer’s instructions regarding the type and amount of adhesive to use.
- Install the Panels: Align the panel with the starting point on the wall, ensuring that the tongue and groove match up. Press the panel firmly against the wall, creating a secure bond. Use a level to ensure the panel is straight and adjust if necessary. Repeat the process for subsequent panels, connecting them securely.
- Secure with Screws: For added stability, use screws to secure the panels to the wall. Place the screws at appropriate intervals, ensuring they are countersunk for a seamless finish. Fill any screw holes with wood filler and sand them down for a smooth surface.
- Finishing Touches: Once all the panels are installed, check for any gaps or uneven areas. Make any necessary adjustments or corrections to ensure a seamless and polished look. You can also apply a suitable finish or sealant to protect the panels and enhance their appearance.
IV. Enjoying the Results: A DIY Success
After completing the installation process, step back and admire the stunning results of your DIY project.
WPC wall panels offer an instant transformation, adding style, texture, and visual interest to your walls.
Whether you choose a contemporary design or a rustic wood look, the panels create a focal point that enhances the overall aesthetics of your space.
Furthermore, the DIY installation process allows you to take pride in your accomplishment and enjoy the sense of satisfaction that comes with creating a beautiful space with your own hands.
With WPC wall panels, you don’t have to rely on professional installers or break the bank to achieve stunning results.

In conclusion, WPC wall panels provide an easy and rewarding DIY installation experience that delivers stunning results.
Their user-friendly design, durability, and aesthetic appeal make them an ideal choice for upgrading your walls and transforming your space.
By following a simple step-by-step installation guide and gathering the necessary tools and materials, you can embark on a DIY project that adds style, texture, and personality to your walls.
Embrace the versatility and ease of installation that WPC wall panels offer and discover the joy of creating a space that reflects your personal style.
Whether you’re a seasoned DIY enthusiast or a beginner looking to unleash your creativity, WPC wall panels are a fantastic option for achieving a stunning transformation with minimal hassle.
Get ready to embark on your DIY journey and enjoy the rewarding process of installing WPC wall panels for stunning, customized results.


